|
|
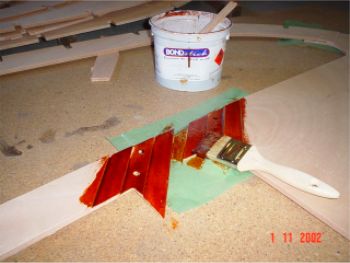
Applying resorcinol adhesive to the scarphs when assembling a bulkhead. Note the holes for locating dowels used to align the components very accurately. The holes are formed by the CNC machine as part of the cutting operation.
This bulkhead is at the aft end of the cockpit where it becomes the aft deck. The two scarph pieces shown are not from the same joint. The piece on the left is the cockpit beam and has a similar scarph at the other end that mates with the part on the right. Roy is assembling the two joints at the same time.
|
|
|
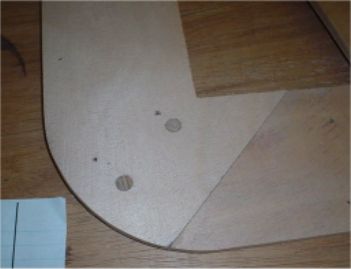
A completed scarph joint after final sanding. The two locating dowels can be clearly seen. This method produces neat and accurate scarph joints very quickly.
|
|
|
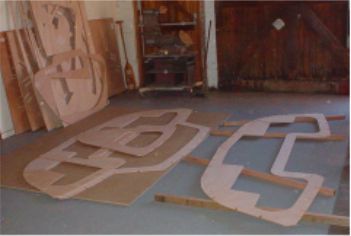
A few of the bulkheads, assembled, glued and sanded.
|
|
|
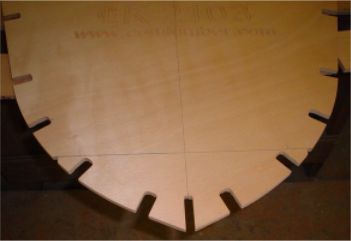
The bottom of bulkhead No 1 showing the centreline and waterline marked by the builder. The waterline is accurately located on each bulkhead by notches routed into the edges.
Also visible at the top of the photo is the identification mark of the kit. Each kit has an unique identification number that is routed into the forward bulkhead.
|
|
|
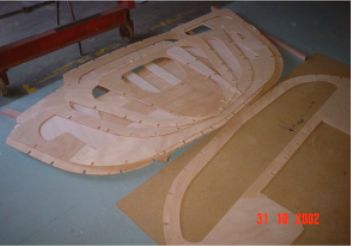
Full set of bulkheads ready to be set up on the building stocks. The bulkhead in the right foreground is the same one that is having the resorcinol applied to the scarphs higher up this page.
|